
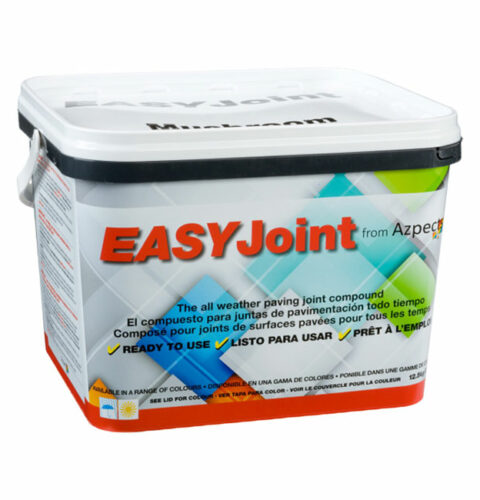
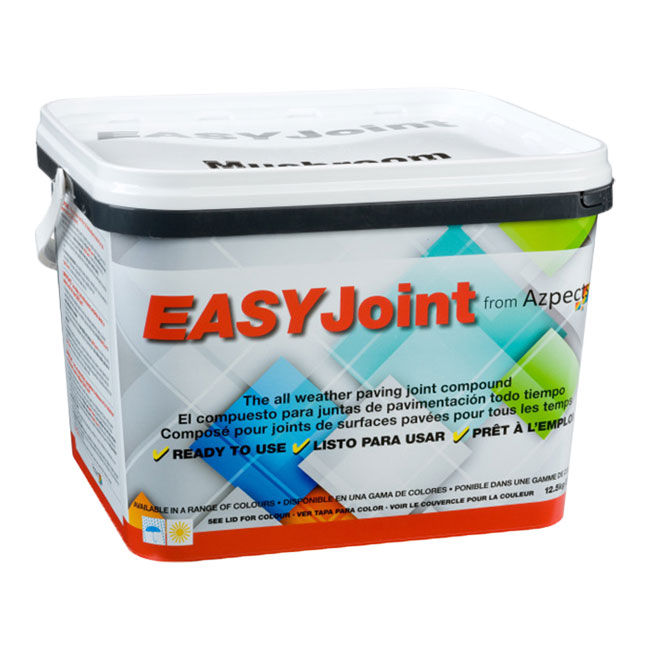
 EASYJoint jointing compound is a very quick, effective and aesthetically pleasing way to fill joints between paving, be it natural stone or concrete.
The result of using EASYJoint, to joint your paving, will be a paving gap that is completely filled that will last for years. A strong joint that will resist the elements and stand the test of time – better than traditional jointing methods
Hundreds of thousands of EASYJoint tubs have been sold globally.
No staining or Hazing
When used correctly and the EASYJoint instructions are followed there will be no staining or hazing to the paving. EASYJoint is safe to use with natural stone as well as being ideal for concrete paving. If you make an error however don’t worry, the only remnant our jointing compound might leave is linseed oil which will disappear and fade over time. Use lots of water when using the jointing grout and any linseed oil will sit on top of it and get washed away! Detailed instructions on how to joint paving with our sweep in sand can be found on this site or in the EASYJoint tub
Smooth the Joints
While not essential, it is strongly recommended to “point” or “strike” the surface of the joints with a suitable finishing tool. This will assist in checking for low spots whilst ensuring the joints are uniformly below the surface of the paving. It will also aid in keeping the joint cleaner for longer. Start once the paving has dried and the joints are drained, applying virtually no pressure to the tool – it is only to finish the joint, not compress it
Setting Times
In dry conditions and warm to moderate temperatures and humidity, EASYJoint should be firm enough to walk on within 24 hours and will cure very hard within a few days. Cold and wet conditions increase the setting time considerably. Freezing weather will cause the process to virtually cease and it can take many days for the joints to set hard. However EASYJoint will eventually set and the weather conditions will not have impaired its integrity in any way.
Similarly, while EASYJoint remains wet, either via the application process or through rainfall, the curing process will be suspended. Prolonged periods of rain, or several intermittent showers will considerably extend the setting times. Again, this will not affect the final integrity of the product in any way provided water can drain easily away and so allow even curing throughout the joints (as previously explained)
 Why use EASYJoint?
- 14 Years Proven Reliability
- No Worry Scheduling – No Return Visits
- Can Install in Wet (Light Rain) and Cold Weather (Down to 3° C)
- Wet Applied – Air Cured
(Impossible to over wet) - Ideal for Shoulder Season Installations (April-May & October-November)
- Permeable Jointing Compound THE Answer for Permeable Applications
- Zero Haze / Staining
- Zero Dust
- Simpler & Faster Than Traditional Methods
- No Waste (Scoop up left-over product – fill bucket with water for future use)
- Excellent DIY Residential Product – Easy Install
- Durable and Long Lasting
- Suitable for Light Vehicular Use On Dense Grade Projects. (For permeable driveway installs Refer to EASYJoint Pro)
- Unlimited Shelf Life
- Freeze Safe
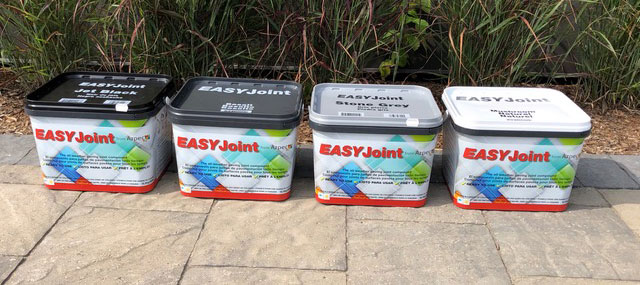
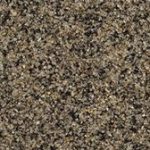
Colours
EASYJoint is available to buy in 4 colours as shown below. Colours may vary slightly due to colour differences on monitors and may not be a true reflection of the final product.
-
- Stone Grey
-
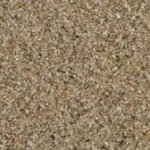
- Mushroom (Beige)
-
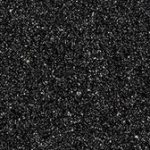
- Black
-
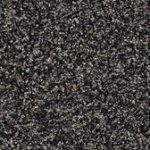
- Basalt
EASY way to apply EASYJoint | Hydro-Broom
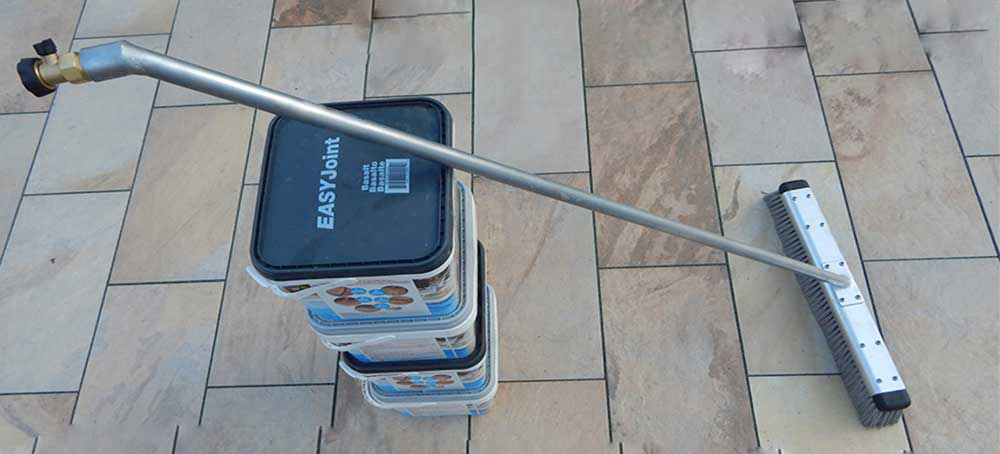
CLICK HERE For Details
EASYJoint Conversation with Geoff Whitcher of Azpects USA.
Azpects is the creator of EasyJoint. Great North Hardscape is the Canadian Distributor
Interview brought to your by: How to Hardscape Podcast (found on iTunes)
Features
Truly an all weather jointing compound
An all year round hard landscaping product to point your paving that can be used whatever the weather conditions are before, during or after application
Very fast to use
The use of water to wash and fill the joints between the paving is a breakthrough in jointing methodology. It assists the paving grout to compact into the joints so there is no need to ‘strike’ or ‘tool’ the joints unless you want a smooth finish.
Less Effort
The wash and sweep in application method makes it easy to use and jointing paving is faster than traditional methods
Technically advanced
Years of research and continuous development of our jointing compound makes this a market leader. Hundreds of thousands of EASYJoint tubs sold globally.
No staining or Hazing
When used correctly and the EASYJoint instructions are followed there will be no staining or hazing to the paving. EASYJoint is safe to use with natural stone as well as being ideal for concrete paving. If you make an error however don’t worry, the only remnant our jointing compound might leave is linseed oil which will disappear and fade over time. Use lots of water when using the jointing grout and any linseed oil will sit on top of it and get washed away! Detailed instructions on how to joint paving with our sweep in sand can be found on this site or in the EASYJoint tub.
Benefits
No Waste
Opened tubs of EASYJoint, if not fully used, can be kept for later use providing they are covered by a minimum of 2″ (50mm) or more of water. – There is no waste with our jointing compound, EASYJoint is an environmentally friendly product.
In conclusion:
For the DIY user of EASYJoint it means that you do the work, the jointing of the paving, when you planned to. For the professional user of EASYJoint, it improves cash flow – get the paving job done and get paid without delay
Using our sweep in compound is 10 to 20 times faster than conventional mortarbased jointing methods
You can be sure that provided the EASYJoint instructions are followed you will have a solid joint that will last for years
The use of water is also a protector for the paving material – correct use will ensure a clean, mark free paving surface.
Instructions and Precautions for Pedestrian Paving Areas
Before using EASYJoint carefully read these instructions and view the demonstration video.
Overview – Before you start
EASYJoint is designed for use on a free draining site. Before using check the site conditions are suitable for the use of EASYJoint, which is a permeable jointing solution (see below).
How to use EASYJoint INSTRUCTIONS and PRECAUTIONS FOR PEDESTRIAN
PAVING AREAS
EASYJoint is designed for use on a free draining site. Before using check the site conditions are suitable for the use of EASYJoint, which is a permeable jointing solution (see below).
Site Conditions
IMPORTANT The project’s ground conditions must be free draining. If the area stays naturally wet and rarely dries out, or if there is a high water table, then EASYJoint should not be used.
EASYJoint cures gradually on contact with air so if the paving base never or rarely dries, nor will the bottom of the joints, resulting in joint failure. If the joints cannot gain full exposure to air, sometimes the top will crust over (from evaporation) but the lower section of the joint may not cure properly.
Additionally, ensure the project has a suitable “fall” to allow surface water to drain away.
Base Mix
For a project to be free draining, both the bedding and sub-base must be permeable. To achieve this, assuming a permeable sub-base, where a mortar bedding is used it should be no stronger than 6 parts sand to 1 part cement (6:1). This will ensure good drainage and is perfectly adequate for pedestrian areas. If water is retained in the joint for long periods, rather than passing through, the joint may fail.
Weather Conditions
When working on a free draining, permeable project, EASYJoint can be applied in virtually all weather conditions. However in freezing conditions, or in falling temperatures below 3°C, refer to the website for guidance. If heavy or prolonged rain is forecast, ideally wait for drier conditions as heavy rain could disturb sand particles that make up EASYJoint before it cures hard, giving an uneven texture.
Prolonged rain will also extend the curing process.
Suitable Paving Types
EASYJoint can be used with all paving types, but some need additional attention before and during the use of EASYJoint. In particular, please be aware of the information supplied elsewhere in this guide about sensitive natural stone types and paving with chamfered edges (‘V’ shaped joints).
EASYJoint Colours
There are five colours to choose from. However, the sand element of EASYJoint is a natural product mined from quarries and shades can vary. Always select tubs from the same pallet to complete a project. It is also worth checking the batch numbers on the side of the tub. If extending a previously jointed project, be aware that variances in colour are likely. The colours depicted on the tub and illustrated on the website are representative only.
Repointing Old Paving
Clean out the old jointing product completely to create the correct joint size (see information under the ‘Joints’ section). Do not use EASYJoint if the correct and fully clean joint size cannot be obtained.
Be aware of the information supplied about site conditions and the permeability of the base and ground conditions. If there is uncertainty about either of these factors, do not use EASYJoint.
JOINTS
Joint Dimensions

Ensure the minimum 3mm gap width is maintained throughout the full depth of the paving material.
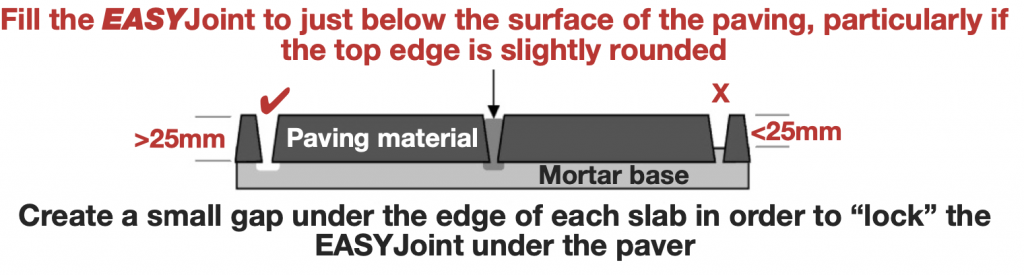
With thin paving it is difficult to achieve 25mm depth. To achieve it, create a channel in the base material by running the tip of a trowel around the exposed edges of each paver to create 25mm depth for EASYJoint to sit in (see illustration above).
CHAMFERED PAVING (Paving with ‘V’ Joints)
Some concrete paving is made in moulds and has chamfered edges creating a ‘V’ shaped joint between two paving slabs, wider at the top than at the bottom. This gap shape can be the most challenging to work with and we recommend you carefully follow the instructions below.
1. Maintain the Width of Joint Throughout Maintain at least a 3mm gap width throughout the depth of the paving material. Never have this type of paving butted together. See photograph.
2. Lock in the Joint An irregular “V” shaped joint means that any type of filler will have difficulty staying in place. To assist in forming a stable joint when laying the paving, draw the tip of your trowel along the bottom edge of each slab so that a small gap forms along and under the paving edge. EASYJoint will flow into the gap and when set will be locked into place. See diagram below.
3. To further aid this, “point” or “strike” the joint; do not leave it textured. This ensures the top of the filler is below the top rounded edge of the paving and helps it adhere to the base and sides of the paving material.
4. Do not overfill the Joint As with all types of paving, never overfill the joint. This is particularly important if the paving has a “rounded” top edge. The filler should be kept below the start of the “rounding”. See diagram below.
APPLICATION PROCESS
Watch the video demonstration above to review the comprehensive information provided in the EASYJoint section.
Ensure the site conditions, project base and bedding are suitable (as previously described).
The Process
1. Wet the Paving. Absolutely soak the area to be jointed with water using a hose. The paving must be saturated before starting and remain soaked throughout the application process – in fact, the wetter the better. Do not shortcut this process, particularly if working with absorbent or sensitive materials such as Fossil Mint Sandstone, Modak, Granite and many Limestone types. Particularly sensitive stone will need sealing, preferably before laying, on its surface and edges.
2. Work Quickly. It’s preferable for two operators to work together; one sweeping, the other using the hose. Using small quantities of EASYJoint, simultaneously spread and wash the compound across the surface using a light jet of water and a broom/squeegee, allowing it to fall into the joints. Never allow EASYJoint to stand in piles or allow the paving to dry with any remaining on its surface.
3. Continuously Wash the Paving. The hose operator should alternate between following the sweeper to aid washing the compound into the joints and moving ahead of him/her so that the paving is always wet. This is particularly important in warm/hot weather conditions.
4. Top Up. Use more EASYJoint to top up any low areas, repeating the washing process as described previously.
5. Final Wash and Clean. Apply a final gentle spray of water across the surface to wash off any EASYJoint residue and to aid the final compaction process. Work conscientiously not to leave any grains of sand on the surface or the rainbow effect caused by the linseed oil. When the water has drained away, a “flicking” motion with a clean soft hand brush (not the same one used to apply the compound) will aid the removal of any loose grains.
6. Smooth the Joints. While not essential, it is strongly recommended to “point” or “strike” the surface of the joints with a suitable finishing tool. This will assist in checking for low spots while ensuring the joints are uniformly below the surface of the paving. It will also aid in keeping the joint cleaner for longer. Start once the paving has dried and the joints are drained, applying virtually no pressure to the tool – it is only to finish the joint, not compress it.
Working with Porcelain Paving
The same rules apply when working with porcelain paving tiles as with working with stone or concrete. The base on which the porcelain is laid MUST BE PERMEABLE.
In terms of application, there is not so much need to use copious quantities of water with porcelain as the EASYJoint will not cause it to mark in the same way it can with stone or concrete. However, users will find that a small amount of water to form it into a slurry, will make it easier for the operator to fill the joints properly.
A LITTLE MORE ADVICE
Tips
Work cleanly, clearing both the sand grains and the binding oil from the surface as you go. Keep washing until the “rainbow effect” oily water is no longer evident.
Once EASYJoint has set hard in the joints, sweep the paving with a stiff broom, diagonally to the joints, to remove any final traces of compound, especially along the edges of ”struck” joints. Do not use the same broom that was used in the application process.
Unused but opened EASYJoint can be saved for later use by pouring it back into the tub (not in the bag) and covering it with at least 50mm of water. The product should remain usable for a few months.
Setting Times
In dry conditions and warm to moderate temperatures and humidity, EASYJoint should be firm enough to walk on within 24 hours and will cure very hard within a few days. Cold and wet conditions increase the setting time considerably. Freezing weather will cause the process to virtually cease and it can take many days for the joints to set hard. However EASYJoint will eventually set and the weather conditions will not have impaired its integrity in any way.
Similarly, while EASYJoint remains wet, either via the application process or through rainfall, the curing process will be suspended. Prolonged periods of rain, or several intermittent showers will considerably extend the setting times. Again, this will not affect the final integrity of the product in any way provided water can drain easily away and so allow even curing throughout the joints (as previously explained).

Our Signature Brands

![]()
![]()
![]()
![]()
![]()